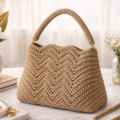
In this project, we will create a practical and elegant crochet crossbody bag using a simple and clear construction method. The pattern is written step by step to make it easy to follow, while maintaining a clean and structured design.
This bag is suitable for everyday use and can be adjusted in size by changing the number of rows, depending on your preference. The written pattern below follows the same steps shown in the video, presented in a concise and technical format for accurate execution.
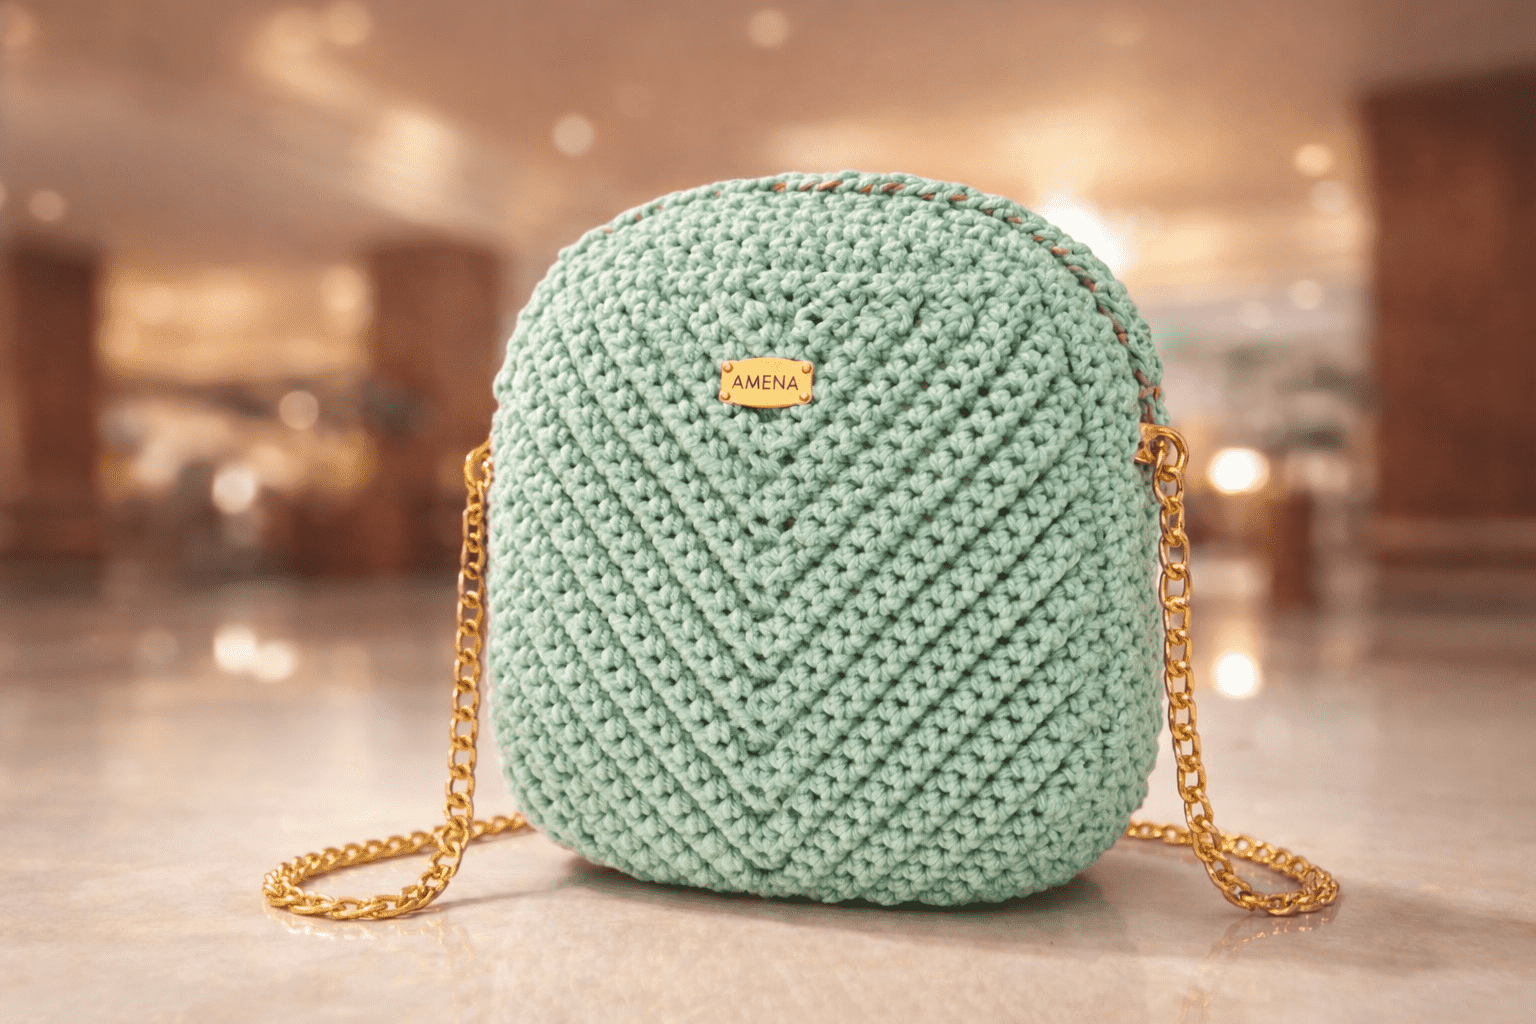
Final bag dimensions:
Width: 18 cm
Height: 17 cm
Depth: 8 cm
Yarn used: 3 mm polyester macrame yarn – 400 g
Hook: 5 mm

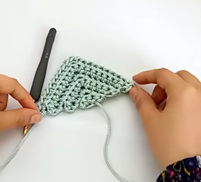
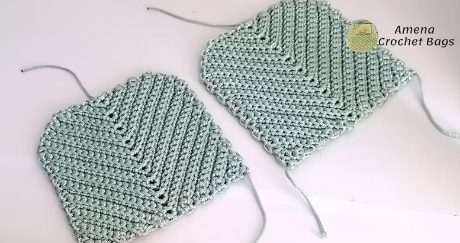
Magic ring
Row 1: 3 single crochets into the ring
Row 2: increase – triple increase – increase (7)
Row 3: increase – 2 single crochets – triple increase – 2 single crochets – increase (11)
Row 4: increase – 4 single crochets – triple increase – 4 single crochets – increase (15)
Row 5: increase – 6 single crochets – triple increase – 6 single crochets – increase (19)
Row 6: increase – 8 single crochets – triple increase – 8 single crochets – increase (23)
Row 7: 11 single crochets – triple increase – 11 single crochets (25)
Row 8: 12 single crochets – triple increase – 12 single crochets (27)
Row 9: 13 single crochets – triple increase – 13 single crochets (29)
Row 10: 14 single crochets – triple increase – 14 single crochets (31)
Row 11: 15 single crochets – triple increase – 15 single crochets (33)
Row 12: 16 single crochets – triple increase – 16 single crochets (35)

Row 13: decrease – 16 single crochets – triple increase – 16 single crochets – decrease (35)
Row 14: decrease – 16 single crochets – triple increase – 16 single crochets – decrease (35)
Row 15: decrease – 16 single crochets – triple increase – 16 single crochets – decrease (35)
Row 16: decrease – 16 single crochets – triple increase – 16 single crochets – decrease (35)
Row 17: decrease – 16 single crochets – triple increase – 16 single crochets – decrease (35)
Row 18: decrease – 16 single crochets – triple increase – 16 single crochets – decrease (35)
Row 19: decrease – 13 single crochets – decrease (15)
Row 20: decrease – 11 single crochets – decrease (13)
Row 21: decrease – 9 single crochets – decrease (11)
Row 22: decrease – 7 single crochets – decrease (9)
Row 23: decrease – 5 single crochets – decrease (7)
Row 24: decrease – 3 single crochets – decrease (5)
Row 25: decrease – 1 single crochet – decrease (3)
Row 26: triple decrease (1)

Cut the yarn.
Skip the center stitch.
Attach the yarn to the stitch immediately after it.
Make a decrease at the beginning and end of each row,
as done on the first side.
Make another piece using the same method.
Make a slip knot and a chain.
Rows 1–41: 8 single crochets
Rows 42–70: 3 single crochets
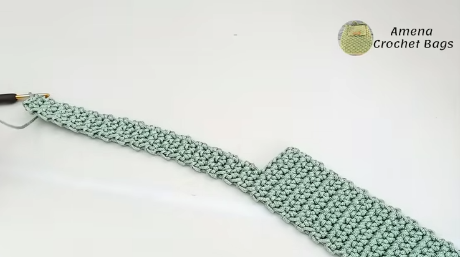
Cut the yarn.
Skip two stitches and work 3 single crochets in the same direction,
and work up for 29 rows.

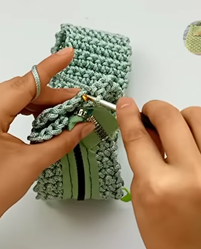
Leave the yarn attached
and sew in the zipper.
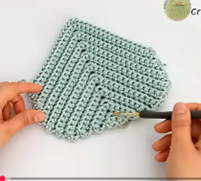
Fold this piece as shown,
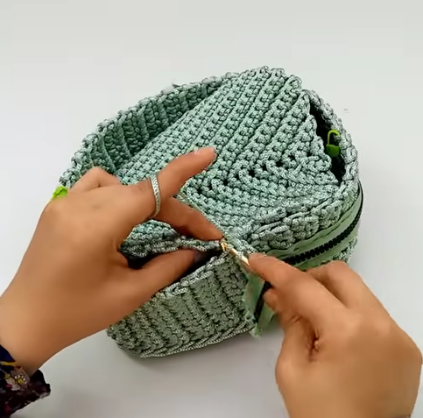
then join the two edges using slip stitches while working on the wrong side.
After that, join each row exactly to its corresponding row using single crochets.
The magic ring must align with the center row.
This written pattern is intended as a clear reference for making the bag and following the construction accurately.
For a full visual explanation of the steps, shaping, and assembly, you can watch the complete video tutorial through the link below.

Video Tutorial
▶️ Watch the full crochet bag tutorial here: